
 how-to
How to Transition Between Different Floors: 2026 Guide
Table of Contents
- Flooring Transition Strips Types: T-Molding, Reducer, and Threshold
- How to Fix Uneven Floor Height Between Rooms
- Best Tools for Installing Flooring Transitions
- Step-by-Step: Installing a Transition Strip
- Choosing the Right Material for Your Transition
- Robot Vacuum Compatibility and Accessibility: What Most Guides Miss
- DIY vs. Professional Installation: Cost and Time Breakdown
- Visual Troubleshooting: Fixing Gaps, Tripping Hazards, and Squeaks
- Frequently Asked Questions
Last Updated: September 18, 2026
Flooring Transition Strips Types: T-Molding, Reducer, and Threshold
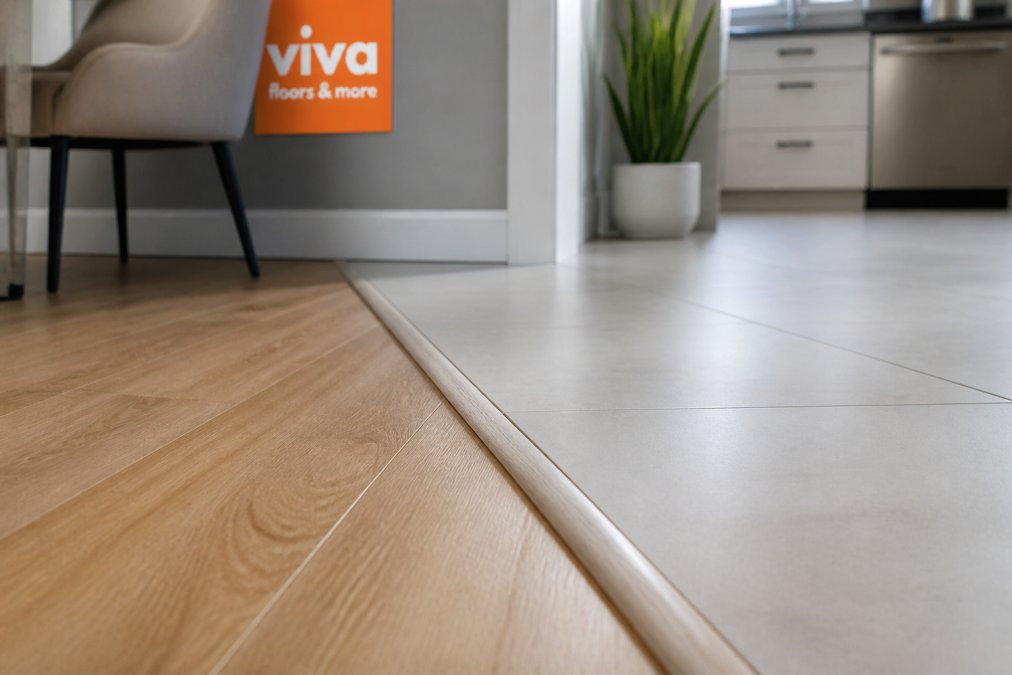
Learning how to transition between different floors starts with picking the right strip. A transition strip is a thin piece of trim that bridges the gap between two flooring surfaces. It hides the cut edge, covers the expansion gap, and removes the tripping hazard at the seam.
Three types cover nearly every job:
- T-molding bridges two floors of equal height.
- Reducer ramps down from a taller floor to a shorter one.
- Threshold caps a doorway or an exterior entry.
Get the type wrong and the strip will rock, pop loose, or leave a lip you stub your toe on every morning.
T-Molding for Equal-Height Floors
T-molding is the right pick when both floors sit at the same height. It has a flat top and a rib underneath that slides into the gap between the two surfaces.
Use it for:
- Hardwood meeting laminate at the same level
- Vinyl plank meeting tile over one shared subfloor
- Two rooms with the same floor height but different materials
The rib centers the strip over the gap. That keeps the seam tight and lets both floors expand and contract without buckling.
Reducer Strips for Height Differences
A reducer strip slopes from the taller floor down to the shorter one. It turns a hard step into a gentle ramp.
Picture a hallway with thick hardwood meeting a bathroom with thin vinyl. The hardwood sits higher. A reducer bridges that drop so feet, carts, and wheels glide across instead of catching.
Reducers come in different height ratios. Match the strip to your actual height difference, or the slope will feel steep and awkward.
Thresholds for Doorways and Exterior Transitions
A threshold covers the seam at a doorway or where flooring meets an exterior door. It is wider and flatter than a T-molding.
Use a threshold when:
- A door sits between two rooms with different floors
- You need to seal out drafts, water, or pests at an entry
- The gap is wider than a standard T-molding can cover
Thresholds take more foot traffic than any other strip. Choose a hard material that will not dent under constant stepping.
How to Fix Uneven Floor Height Between Rooms
You have two options when floors do not match: level the subfloor or bridge the gap with a strip. The right call depends on how big the difference is and what caused it.
Small differences, usually under a quarter inch, are a job for a transition strip. Bigger differences often point to a subfloor problem that a strip alone will not fix.
Measuring the Height Difference Accurately
Measure at the seam, not in the middle of the room. Floors can slope, so the number that matters is the gap right where the two surfaces meet.
Here is how to get a clean measurement:
- Set a straightedge across the seam so it rests on both floors.
- Slide a tape or ruler under the low side until it touches.
- Read the gap. That is your height difference.
- Measure at three points along the seam and use the largest number.
A common mistake is measuring once and ordering a strip that is too short. Always take the biggest gap.
When to Level the Subfloor vs. Use a Transition Strip
Level the subfloor when the difference is large or the floor feels soft and spongy underfoot. A spongy spot often means moisture damage or a low joist, and a strip will just hide a growing problem.
Use a transition strip when:
- The gap is small and consistent along the seam
- Both floors are solid and flat
- The height difference comes from flooring thickness, not a structural issue
Best Tools for Installing Flooring Transitions
You do not need a full workshop. A short list of tools handles almost every transition job.
- Tape measure for the seam length and height gap
- Miter saw or handsaw for clean, square cuts
- Pry bar and hammer for lifting old trim
- Drill for pilot holes in hardwood
- Nail set to sink nails below the surface
- Caulk gun for adhesive
- Sanding block to soften sharp cut edges
- Utility knife to trim adhesive and clean the gap
A miter saw gives the cleanest cut. If you do not own one, a fine-tooth handsaw works, but take your time. A ragged cut shows at the seam.
Step-by-Step: Installing a Transition Strip
Total Time: 45 to 90 minutes Difficulty: Beginner to intermediate
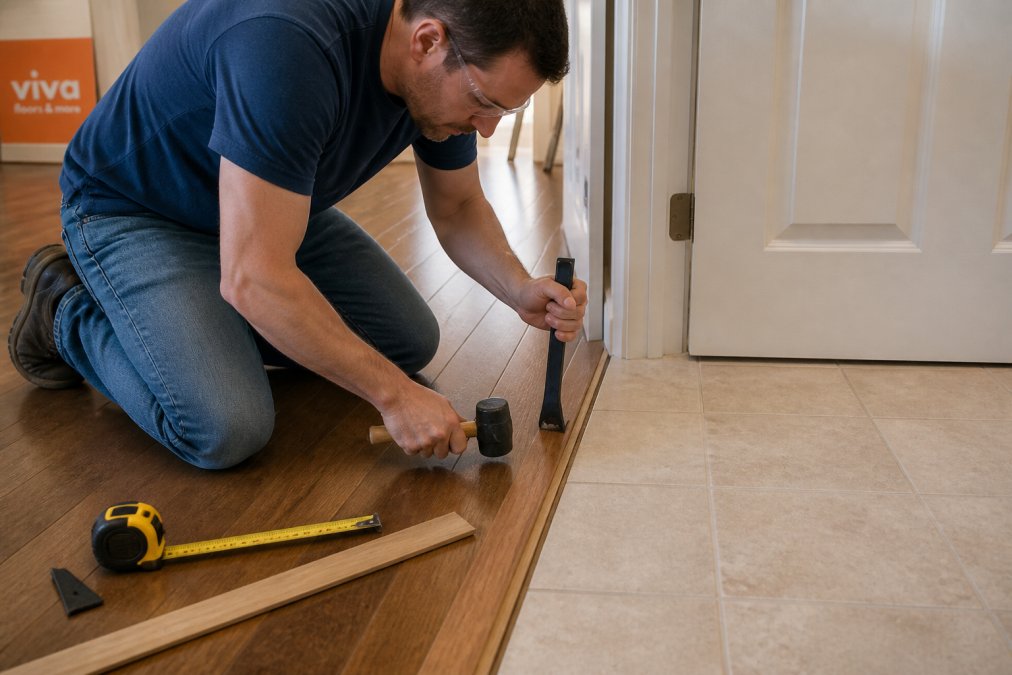
Here is the full process, from prep to final tap.
Step 1: Prep the Subfloor and Measure
Clear the gap between the two floors. Vacuum out dust, old adhesive, and any loose debris.
Check that both floor edges are flat and solid.
Step 2: Cut and Fit the Strip
Cut the strip a hair longer than the seam, then trim to a snug fit. For doorways, cope the ends around the door jamb so the strip tucks under the trim.
Step 3: Secure with Adhesive or Nails
You have two ways to lock the strip down:
- Adhesive: Best for concrete subfloors and floating floors. Run a bead, press the strip in, and weight it until it sets.
- Nails or screws: Best for wood subfloors. Drill pilot holes, then drive fasteners into the subfloor, not the flooring.
- Both: The strongest hold for high-traffic doorways. Glue the base and nail the ends.
Set nails below the surface with a nail set, then fill the holes with matching putty.
Choosing the Right Material for Your Transition
Match the strip material to the floors it touches and the traffic it takes. A strip that looks right but wears fast is a false economy.
| Material | Best For | Watch Out For |
|---|---|---|
| Wood | Hardwood and laminate seams | Swells with moisture |
| Laminate | Color-matched laminate floors | Can chip at sharp edges |
| Vinyl | Vinyl plank and damp rooms | Fades in direct sun |
| Metal | Doorways and high traffic | Dents if too thin |
| Stone or marble | Tile to tile transitions | Cracks if unsupported |
Robot Vacuum Compatibility and Accessibility: What Most Guides Miss
Most guides stop at installation. They skip the two things that decide whether you will actually like the result: your robot vacuum and your household's mobility needs.
- Keep the height change under about half an inch where possible
- Choose a reducer over a sharp square edge
- Avoid metal strips with a raised lip
DIY vs. Professional Installation: Cost and Time Breakdown
Doing it yourself saves labor, but only if you have the tools and the patience. Hiring a pro saves time and lowers the risk of a bad cut.
| Factor | DIY | Professional |
|---|---|---|
| Time per transition | 45 to 90 minutes | Same day, batched |
| Tools needed | Saw, drill, pry bar | Pro brings all |
| Risk | Miscut or loose strip | Low |
| Best for | One or two seams | Whole-home jobs |
Visual Troubleshooting: Fixing Gaps, Tripping Hazards, and Squeaks
Most transition problems have a simple cause and a simple fix. Here is how to read the symptom and solve it.
| Problem | Likely Cause | Fix |
|---|---|---|
| Gap at the seam | Strip cut too short | Replace with a longer strip |
| Strip rocks | Uneven subfloor | Sand high spot or shim |
| Tripping hazard | Steep or tall strip | Switch to a reducer |
| Squeak | Loose fastener | Add adhesive or reset nails |
| Strip pops up | Adhesive failed | Clean and re-glue |
Frequently Asked Questions
What is the best way to transition between different height floors?
The best method depends on the height difference. For gaps under 1/2 inch, a reducer strip creates a gentle slope. For differences between 1/2 and 1 inch, a threshold or ramp works well. If the height difference exceeds 1 inch, you may need to level the subfloor or build a custom transition. Always measure the gap at multiple points, as floors can vary. For safety and a professional look, match the transition material to the higher-traffic flooring.
Do you need a transition strip between rooms?
Yes, in most cases. Transition strips serve three purposes: they cover the expansion gap required by floating floors, protect floor edges from chipping, and create a safe walking surface. Without them, you risk tripping hazards and moisture damage. However, if two rooms share the same flooring and are installed continuously, a strip may not be needed. Always check manufacturer guidelines.
How do you transition hardwood to tile?
Hardwood to tile transitions usually require a reducer or T-molding, depending on height. Tile is often thicker than hardwood, so a reducer that slopes from tile down to wood is common. Measure the height difference, then choose a strip that bridges it smoothly. Use construction adhesive for a secure bond, and consider a color that matches the hardwood for a seamless look. For large gaps, a threshold may be better.
What can I use instead of transition strips?
If you prefer a strip-free look, you can use a flush transition by installing a thin underlayment to equalize heights, or by using a caulk line for small gaps. However, these methods are less durable and may not meet code. For floating floors, skipping a transition strip can void your warranty. In most cases, a low-profile T-molding or a custom wood reducer is the best alternative to a standard strip.