
 how-to
Installing Flooring in Humid Climates: A Step-by-Step Guide
Table of Contents
- Why Installing Flooring in Humid Climates Requires a Different Approach
- Best Flooring for Humid Climates: Material-by-Material Breakdown
- Subfloor Moisture Testing Before Flooring Installation
- Flooring Acclimation in Humid Weather: Timing and Best Practices
- Step-by-Step Installation Workflow for Humid Climates
- Preventing Floor Buckling from Humidity: Symptoms and Fixes
- Long-Term Humidity Monitoring and Maintenance
- Frequently Asked Questions
Last Updated: October 5, 2026
Why Installing Flooring in Humid Climates Requires a Different Approach
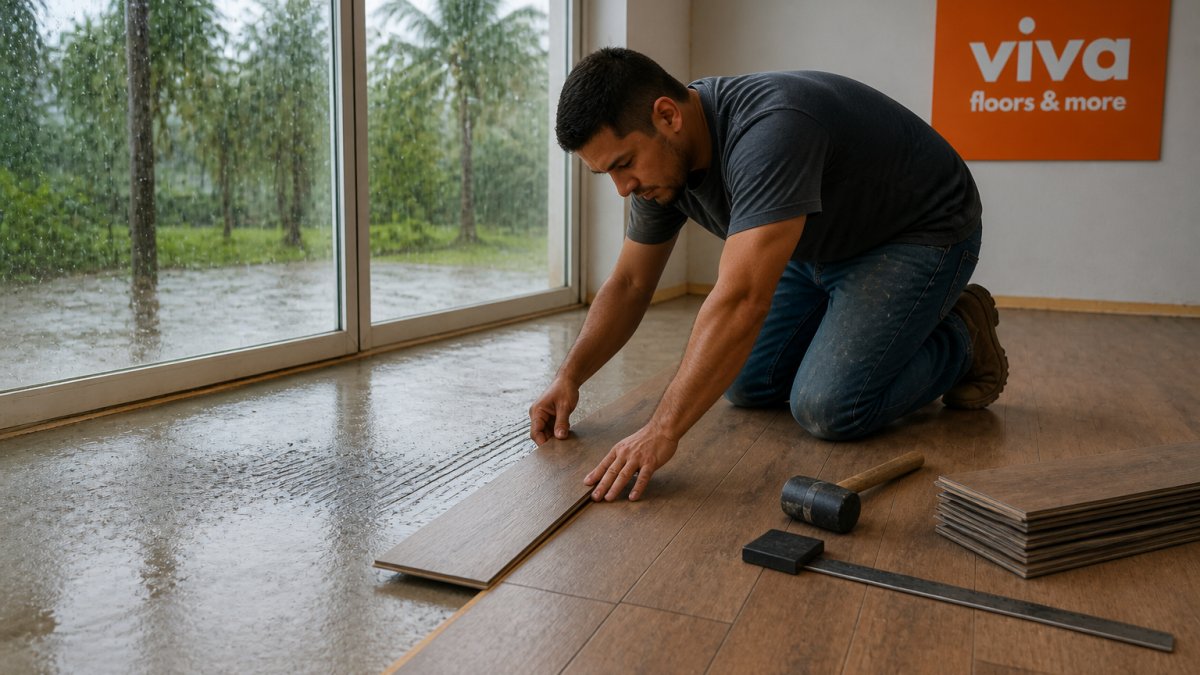
Installing flooring in humid climates fails for one reason: moisture moves through the floor assembly after the boxes are open.
Humidity is the variable most installers underestimate. Wood and wood-based products absorb moisture from the air and subfloor, swelling and shrinking as the air dries, a cycle that repeats all year in humid climates.
The result is predictable: cupping, buckling, gaps, and warping. The fix is not a better adhesive. It is controlling moisture before, during, and after the install.
How Humidity Affects Different Flooring Materials
Every flooring type reacts to moisture differently, which should drive your choice.
- Solid hardwood moves the most. It absorbs and releases moisture across its full thickness.
- Engineered hardwood moves less because its core is layered in cross directions.
- Luxury vinyl plank handles humidity well but can gap if the subfloor is uneven.
The takeaway: the wetter and more variable your indoor air, the more you should lean toward low-movement materials.
Best Flooring for Humid Climates: Material-by-Material Breakdown
The best flooring for humid climates is porcelain tile, concrete, and luxury vinyl plank, with engineered hardwood as a solid option when the space stays climate-controlled. Solid hardwood and standard laminate are the riskiest choices.
| Material | Moisture Tolerance | Movement Risk | Best For |
|---|---|---|---|
| Porcelain tile | High | Very low | Bathrooms, kitchens, slab-on-grade |
| Concrete | High | Very low | Garages, commercial, modern interiors |
| Luxury vinyl plank | High | Low | Whole-home, rentals, high traffic |
| Engineered hardwood | Medium | Moderate | Living areas with climate control |
| Cork | Medium | Moderate | Bedrooms, low-traffic rooms |
| Laminate | Low | High | Dry, climate-controlled rooms only |
| Solid hardwood | Low | Very high | Dry rooms with stable indoor humidity |
Porcelain Tile and Concrete Flooring
Porcelain tile is the safest pick in a humid climate. It does not absorb ambient moisture, so it will not swell, cup, or gap, and concrete behaves the same way. The catch is the subfloor: tile needs a flat, stable surface, and slab movement will crack the grout or tile.
Luxury Vinyl Plank, Laminate, and Cork
Luxury vinyl plank is the practical middle ground: moisture-resistant, compatible with most subfloors, and durable against pets and kids. Laminate is the weak link, its wood-based core swells when moisture reaches it, so keep it out of bathrooms, laundry rooms, and any space with a slab below. Cork handles humidity better than laminate but still needs a dry, sealed subfloor.
Subfloor Moisture Testing Before Flooring Installation
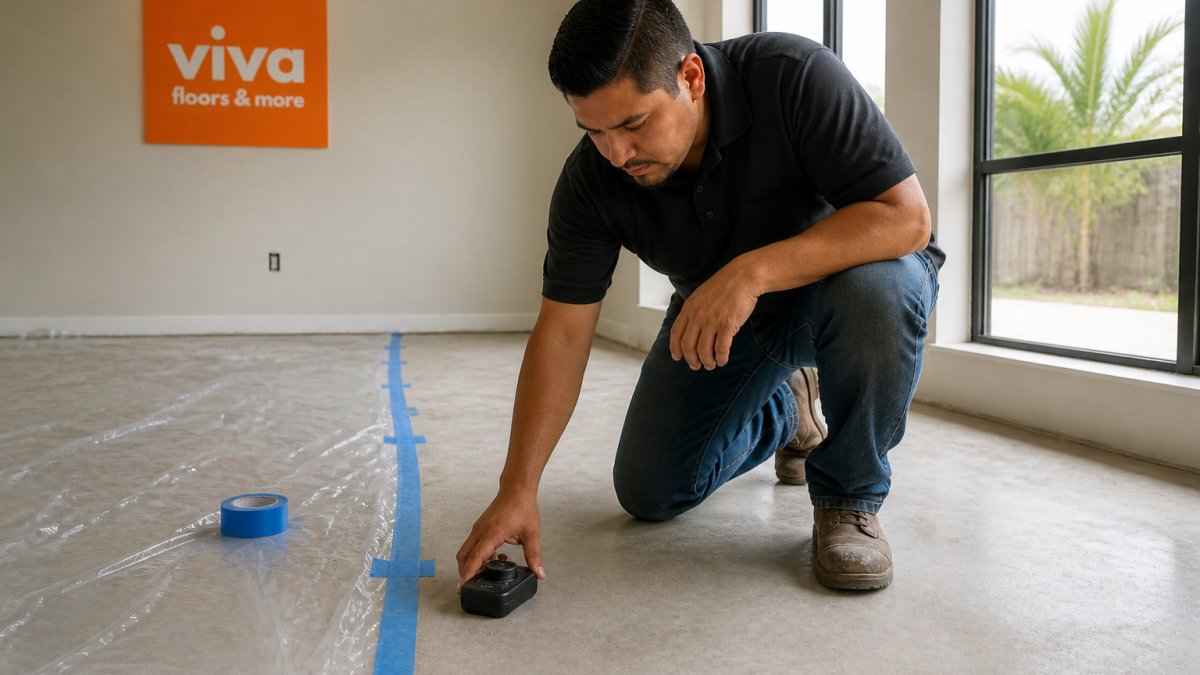
Subfloor moisture testing before flooring installation is non-negotiable in a humid climate. Test the slab or subfloor, record the numbers, and do not install until they fall within the range your flooring maker specifies.
Match the Test to the Subfloor Type
Concrete and wood subfloors fail for different reasons, so they need different tests.
Concrete slabs, moisture vapor rises from below. Use one of these three:
- Calcium chloride test (ASTM F1869). A dish of calcium chloride sits under a sealed plastic dome for 60 to 72 hours, measuring the rate of moisture vapor passing through the slab in pounds per 1,000 square feet per 24 hours (lb/1000 ft²/24 hr).
- In-situ relative humidity test (ASTM F2170). A probe is drilled into the slab to a specified depth (typically 40% of the slab thickness) and left to equilibrate, reading moisture inside the concrete as a percentage relative humidity (%RH). This is the more reliable method for thick slabs and slabs on grade.
- Electrical impedance / pin meter. Fast and cheap, but it reads only the top fraction of an inch. Use it for a quick scan, never as the final pass/fail reading.
Wood subfloors, moisture content, not vapor emission, is the concern. Use a pin-type or pinless moisture meter and read the wood's moisture content (MC) as a percentage. A common target is within a few points of the flooring's own MC and the home's equilibrium moisture content, but the maker's number always wins.
Reading the Numbers: What Fails and What Passes
There is no universal threshold, the flooring maker's installation guide governs. But the ranges below reflect what most manufacturers of wood-based and resilient flooring publish, and they are a useful sanity check before you open a box.
| Test | Typical manufacturer limit | What it means |
|---|---|---|
| Calcium chloride (ASTM F1869) | Often 3 lb/1000 ft²/24 hr or lower for wood-based floors; some resilient products allow up to 5 | Vapor emission rate through the slab |
| In-situ RH (ASTM F2170) | Often 75% RH or lower; some products allow up to 80% | Moisture inside the concrete |
| Wood subfloor MC | Within roughly 2-4 points of the flooring's MC | Moisture in the wood itself |
If a reading lands above the maker's limit, you have three options, in order of preference:
- Wait. Concrete continues to cure and dry. A slab that fails today may pass in weeks or months.
- Apply a moisture-mitigation coating. A roll-on epoxy or urethane vapor retarder can bring emission into range. It must be the product the flooring maker approves, or you void the warranty.
- Change the floor. Switch to a material rated for the higher reading, porcelain tile, for example, tolerates far more slab moisture than solid hardwood.
Document Every Reading
Record each reading with the date, exact location (sketch the room and number the test points), test method, and meter or kit used, and photograph the meter display. If a floor fails later, that log proves the subfloor passed at install, often the difference between a covered warranty claim and a denied one.
Flooring Acclimation in Humid Weather: Timing and Best Practices
Flooring acclimation in humid weather means letting the material sit in the room where it will be installed so it reaches the room's moisture level before you nail or glue it down.
Here is the timing to plan around:
- Engineered hardwood: 48 to 72 hours in the room.
- Solid hardwood: 3 to 5 days, sometimes longer.
- Laminate and luxury vinyl plank: often 48 hours, but check the box.
Keep the room at normal living conditions during acclimation, a climate-controlled room, not an open garage. Run the AC or heat as you normally would.
Stack the boxes so air can move around them. Do not lay planks flat against a cold slab.
Step-by-Step Installation Workflow for Humid Climates
A humid-climate install follows a strict order, and the order changes depending on the material. This workflow adds what most guides leave out: the decision points, the expansion-gap math, and the code and warranty triggers that determine whether your install holds up.
Phase 1: Conditions and Testing (Before Anything Is Opened)
- Condition the space. Run the HVAC as it will run after move-in. Most manufacturers want normal living temperature and stable indoor relative humidity before, during, and after install, a common target is roughly 30-50% indoor RH, but the product's installation guide is the authority.
- Test the subfloor. Run the appropriate test for the subfloor type (see above) and record every reading.
- Confirm the subfloor is flat. Most makers specify flatness within a set tolerance over a set distance, commonly 3/16 inch in 10 feet, but check the guide. Out-of-flat subfloors cause gaps in vinyl and hollow spots under tile.
Phase 2: Subfloor Preparation and Moisture Control
- Clean and repair. Remove old adhesive, patch cracks, and grind or fill high and low spots.
- Install the vapor control layer. Over a concrete slab, roll out the vapor retarder the flooring maker approves, seal the seams with the maker's tape, and run it up the walls a few inches before trimming. Over a crawl space, cover the bare ground with a vapor barrier and keep the space dry and ventilated.
- Choose the underlayment by material. This is where most generic guides go wrong:
- Floating floors (laminate, LVP, engineered): use the underlayment the maker specifies. Some floating floors have the pad pre-attached; adding a second pad can void the warranty.
- Glue-down floors: the adhesive is the moisture barrier. Use the maker's adhesive and trowel size.
- Nail-down solid hardwood: use the specified felt or rosin paper, not plastic sheeting, unless the maker says otherwise.
- Tile: use a crack-isolation membrane over slabs where the maker or local code requires it.
Phase 3: Acclimation and Layout
- Acclimate the material in the room where it will be installed, at normal living conditions, for the time the maker specifies.
- Dry-fit and square the layout. Snap a chalk line, check for square, and dry-fit the first two rows. In humid climates, plan the layout so cut edges at walls hide under baseboard.
Phase 4: Installation and Expansion Gaps
- Install per the maker's method, floating, glue-down, nail-down, or thin-set. Do not mix methods.
- Leave expansion gaps at every fixed object. This is the single most-skipped step in humid climates. A common starting point is a gap roughly equal to the flooring's thickness at every wall, cabinet, column, and door jamb, but the maker's number governs. Floors pinned tight have nowhere to move when humidity rises, so they buckle.
- Do not bridge expansion joints. Leave the maker's specified gap at doorways and long runs, and use a T-molding or transition strip rather than running flooring straight through.
Phase 5: Finish, Verify, and Monitor
- Finish and trim. Add baseboards and transition strips, but nail baseboard to the wall, not through the flooring, so the floor can still move.
- Verify the install. Walk the floor, check for hollow spots, gaps, and squeaks, and confirm every expansion gap is covered but not filled.
- Monitor humidity going forward. Keep the space climate-controlled and recheck subfloor moisture if you notice new cupping or gaps.
In a humid climate, the subfloor, the vapor control layer, and the expansion gaps decide whether your floor lasts. Get those three right, follow the maker's installation guide step for step, and most flooring types will perform well, and keep your warranty intact.
Preventing Floor Buckling from Humidity: Symptoms and Fixes
Preventing floor buckling from humidity starts with spotting the early signs. Buckling is the peak of a moisture problem, not the beginning.
Watch for these symptoms:
- Cupping: edges of the plank curl up, center stays low.
- Crowning: center of the plank rises, edges stay down.
- Buckling: the floor lifts off the subfloor in a ridge.
Fixes depend on the cause:
- If the indoor humidity is too high, bring it down and hold it steady.
- If the subfloor is wet, the floor has to come up. There is no shortcut.
- If the expansion gap is missing, trim the edges and reset the trim.
Long-Term Humidity Monitoring and Maintenance
Keeping a floor flat in a humid climate is a maintenance habit, not a one-time task. Monitor indoor relative humidity and keep it stable year-round.
Simple habits that protect the floor:
- Run the AC or a dehumidifier during the wettest months.
- Keep the crawl space dry and ventilated.
- Wipe up spills quickly, especially on laminate.
The U.S. Environmental Protection Agency's guide to indoor air quality notes that indoor humidity affects both comfort and the durability of building materials, which is why a stable range matters more than a single reading.
Humidity is the one variable that decides whether a floor lasts or fails, and it is the variable most installers ignore.
Frequently Asked Questions
What type of flooring is best for humid climates?
Porcelain tile, luxury vinyl plank, and concrete flooring handle humidity best because they resist moisture absorption. Engineered hardwood outperforms solid hardwood in humid conditions since its plywood core limits expansion. Cork and rubber flooring also work well in moisture-prone rooms. Avoid solid hardwood in areas with relative humidity consistently above 55%, and always check manufacturer guidelines for your specific product.
What humidity is too high for hardwood floors?
Most hardwood manufacturers recommend keeping indoor relative humidity between 30% and 50%. When humidity climbs above 55% for extended periods, solid hardwood absorbs moisture, causing planks to swell, cup, or buckle. Engineered hardwood tolerates slightly higher levels but still has limits. Use a dehumidifier or air conditioning to maintain consistent indoor humidity year-round, especially during summer months in humid regions.
How should flooring acclimate before installation in humid weather?
Bring flooring boxes into the installation room and let them sit flat for at least 48 to 72 hours. For some materials, manufacturers recommend 3 to 5 days. Keep the room at normal living conditions with air conditioning running. Stack boxes with spacers between them so air circulates around each box. Do not open packaging until you are ready to install, and never acclimate flooring in a garage or unconditioned space.
How do you check a subfloor for moisture before installing flooring?
Use a calibrated moisture meter to test concrete slabs and wood subfloors at multiple points. For concrete, the calcium chloride test or relative humidity probe test gives readings manufacturers accept for warranty claims. Acceptable thresholds vary by material and manufacturer, but many specify concrete slab readings below 3 to 5 pounds per 1,000 square feet per 24 hours. Always record your readings and keep them for warranty documentation.